It all started when my brother bought a dual sport bike and talked about taking an adventure up the California coast. Well there I was sitting there thinking, Darn I got this nice 2007 WR450F and no money to buy a second bike! What’s a poor guy to do? Well I started looking around at converting my bike to a dual sport. I’m going to spend the summer, (So Cal slow time for riding) building my Dual Sport.
I wanted something simple, but complete. I checked all the companies and stores. I saw this guy selling D/S kits on E-Bay and at Rocky Mountain ATV. What I liked about his kits is that the kit did not require a stator mod, so there are no other ups or extras. So I contacted Roy at Ryco Motorsports and told him what I wanted. He said no problem, I can make you a kit with turn signals in handguards and smaller rear Turn Signal assemblies. I also asked for his stop/ignition and start switch. He said he will box everything up and ship it out. He said the kits are complete and come with everything I need except tools! He was right, I didn’t even need tie straps.
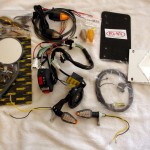
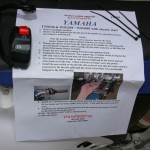
After giving the mail man the evil eye every day he didn’t bring my kit, it finally arrived. I quickly unloaded the box and laid everything out to see what was there, (I of course had to take a picture of it.) I read through instructions and started putting everything together. First thing I noticed, it is a complete kit and the instructions are very well done.
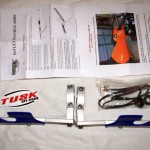
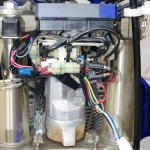
I went out to the bike and started working. I took off the headlight, seat, and tank. I started in the back and worked forward (No, I didn’t follow the instructions, step by step, but it was okay). I installed the license plate bracket and rear turn signals, (when the instructions say use the shorter screw in the front hole, for sake of your rear fender, use the shorter screw!) They have you reuse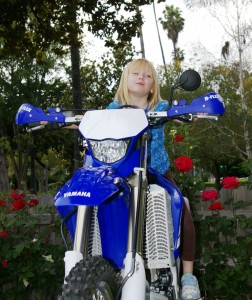 the factory clamp for the wiring and that worked well. I moved on to the brake light switch and that was simple enough as well. You wire the brake light using the power to the taillight so it’s an easy two wire install! I flushed and bleed the brakes while I was doing this. I then got the wires for the rear turn signals and ran them towards the front. This is my one and only watch it, the wires are made to run in one direction only, make sure you have the right connectors and wire color combos. Next came the new switches, the main switch includes the head lights, turn signals, and horn and it is pre-wired to complete the install. I got the main switch installed and ran the harness to behind the headlight. I then installed the ign/starter switch and installed the connectors and pins. Last thing to install was the handguards/turn signals, with that done it was time to finish the wiring. The last connections were easy, 8 connections for the turn signals, 2 horn connections, 1 pin into the head light connector, and 2 quick connects for power and ground. I reassembled the bike and made sure everything was working correctly. Well I am happy to say it all worked/works perfectly!
For more information, contact Ryco Moto http://rycomoto.com/

